Flashing APUx with Raspberry Pi
Preparing environment and building image
Details about building firmware are mentioned in README
Flashing APUx using RPi2/3/zero
If You have already built an image with descriptions provided earlier, it is time to connect RPi to apu.
-
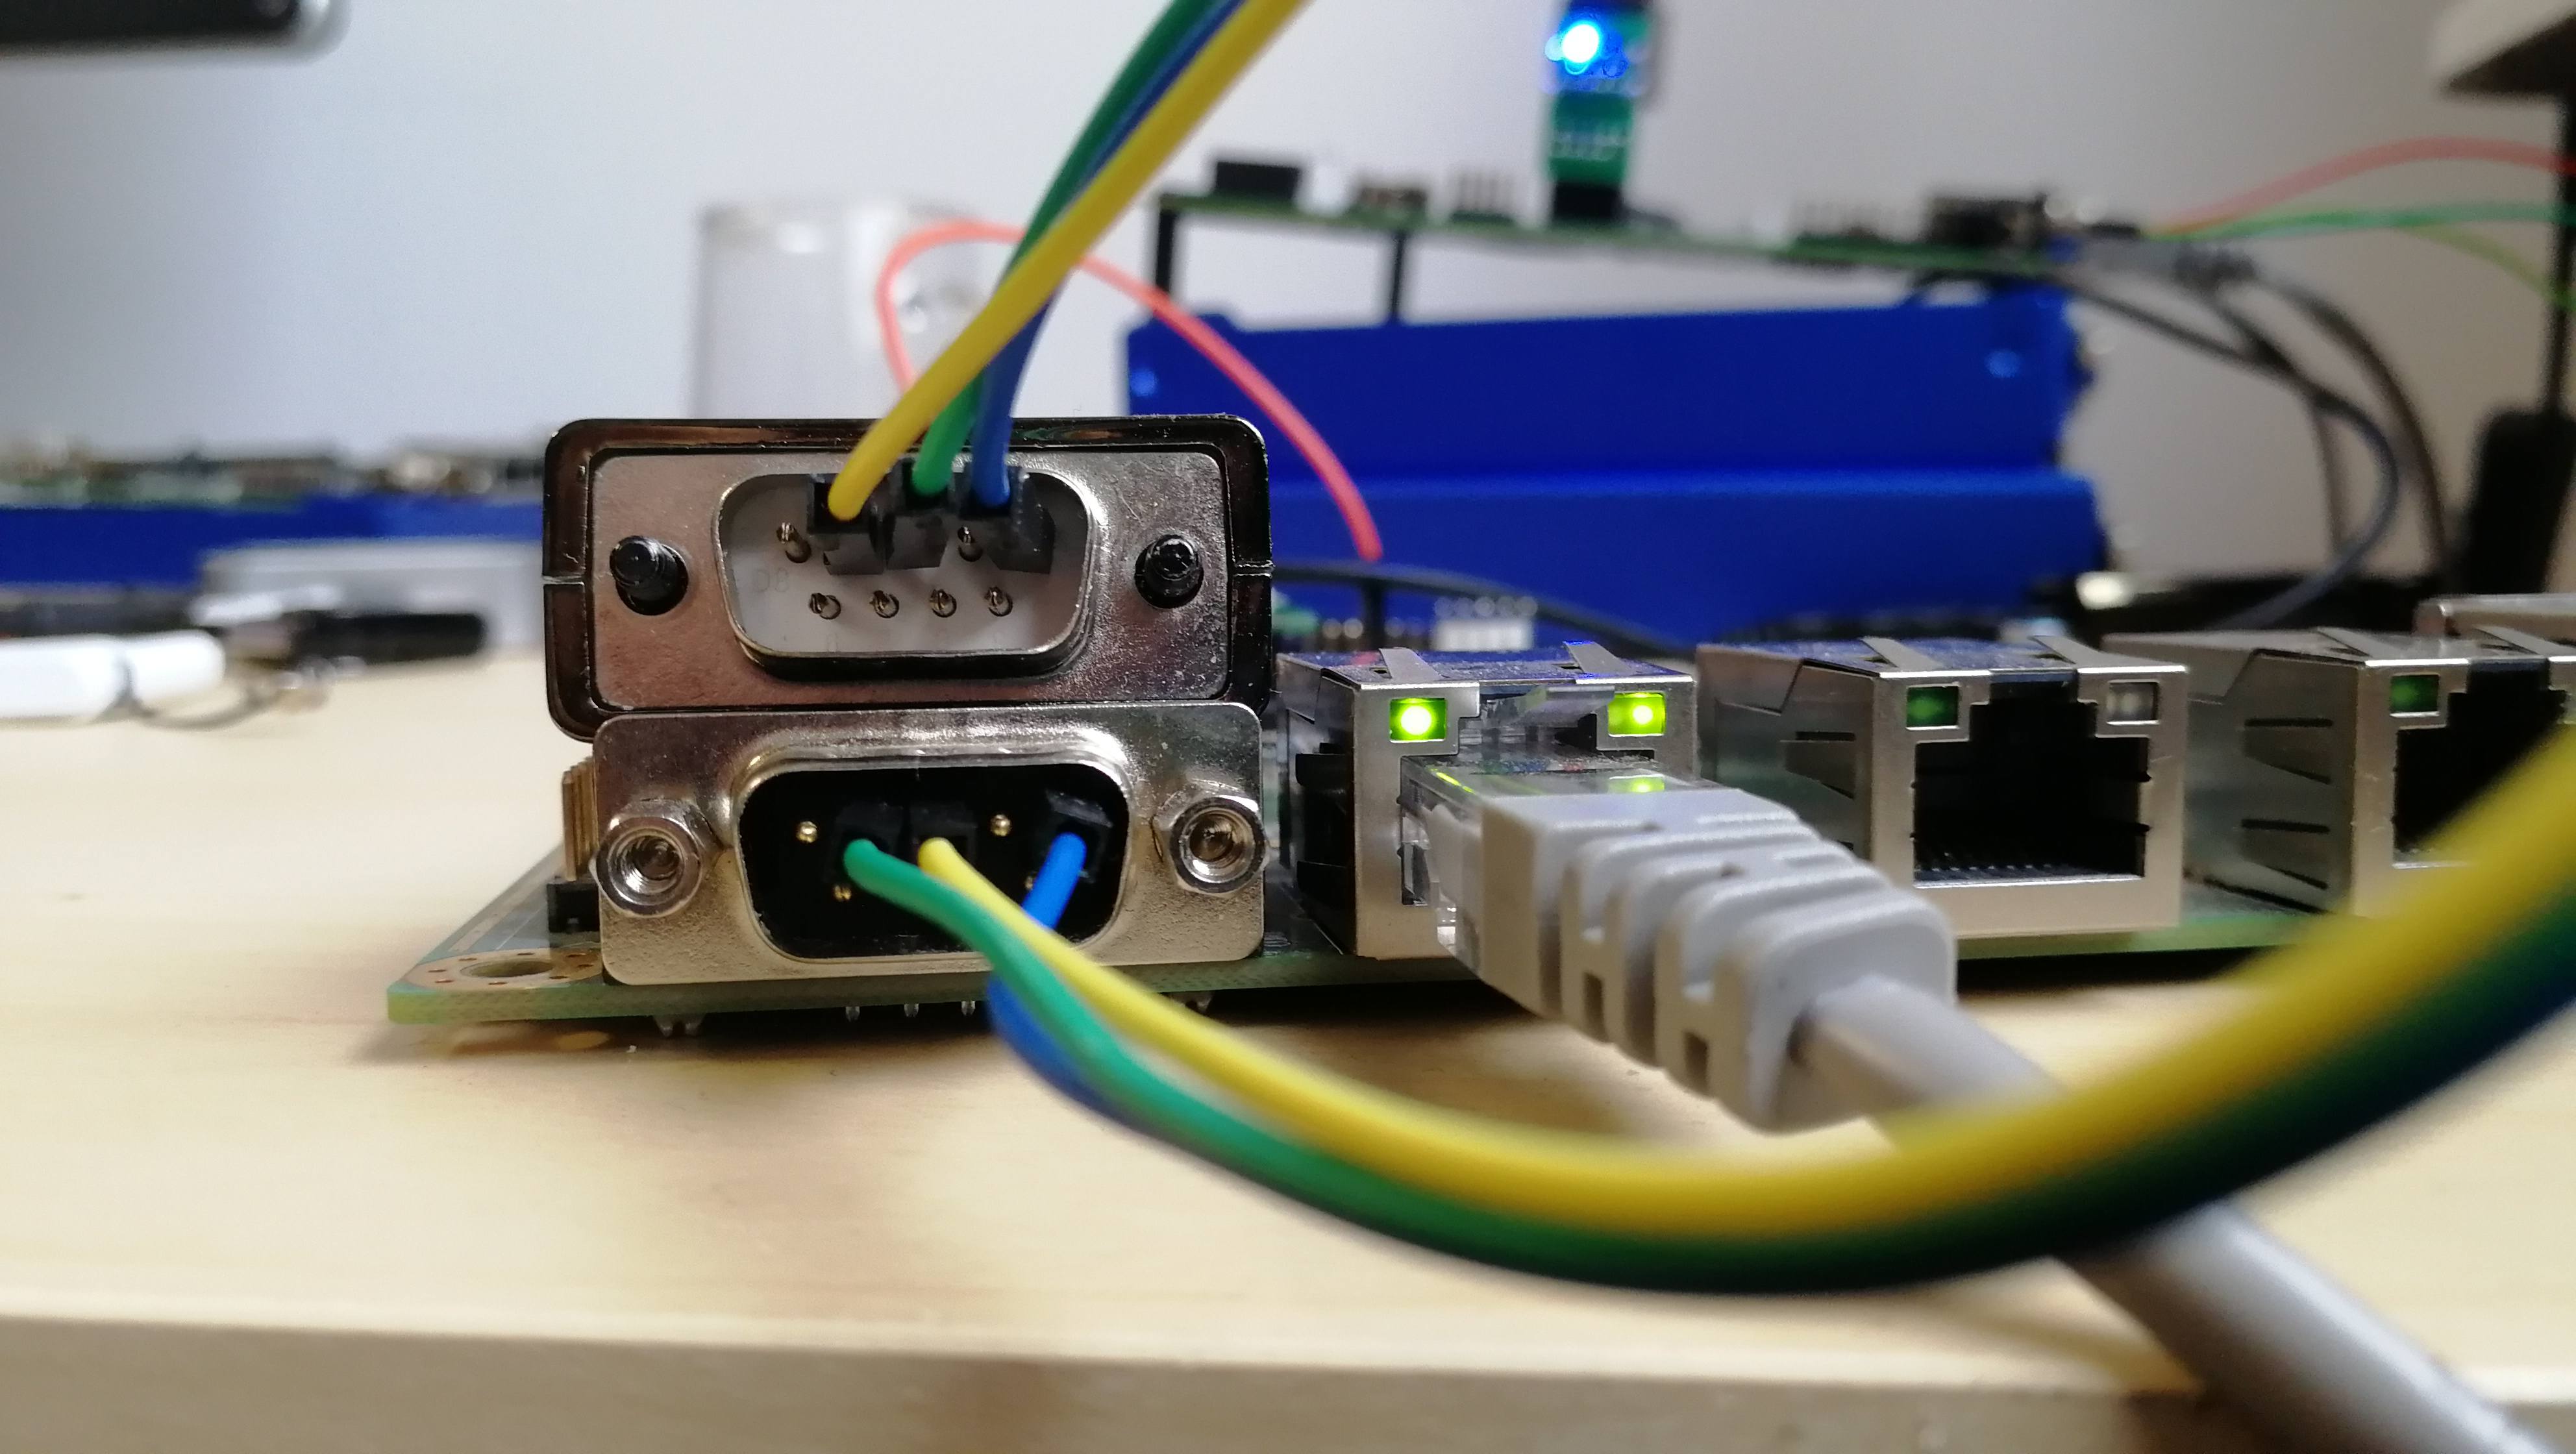
Prepare wire connections.
pinout:
Signal RPi Pin number APUx SPI pin header 3V power 17 1 VCC (may be omitted) GND 20 2 GND SPI0 CS0 24 3 SPICS SPI0 CLK 23 4 SPICLK SPI0 MISO 21 5 SPIDI SPI0 MOSI 19 6 SPIDO Except that before flashing we have to make sure that APUx is on and in S5 state. That means we have to connect pins 2 and 3 on J2 header before turning power on. In such case there will be no output on serial port.
-
Configure SPI and SSH on RPi.
On RPi side we can use other pins as well. There are 2xSPI, 2x3V power and
8xGND. Note that SPI requires dtoverlay=spi1-1cs in /boot/config.txt:
- I have Raspbian on SD card, I need additional customizations:
- if /dev/spidev0.0 doesn't exist, set
dtparam=spi=oninboot/config.txt, reboot. - I want to connect via WiFi/SSH. So I place config
wpa_supplicant.conf/boot/(/etc/wpa_supplicant/should work as well). - enable SSH on boot (in
/etc/rc.local):
/etc/init.d/ssh start
- To figure out RPi's IP address I use:
    ~/img> sudo nmap -sP 192.168.0.255/24

    [...]
    Nmap scan report for 192.168.0.16
    Host is up (0.17s latency).
    MAC Address: B8:27:EB:24:81:58 (Raspberry Pi Foundation)
    [...]
Be carefull, you may need to adjust IP address mask!
- I can login on pi user (default password: raspberry), which has sudo priviledges:
ssh pi@192.168.0.16
- install flashrom
pi@raspberrypi:~$ sudo apt-get install flashrom
- read ROM image:
##### APU1
pi@raspberrypi:~$ sudo flashrom -p linux_spi:dev=/dev/spidev0.0,spispeed=16000 -r apu.rom -c "MX25L1605A/MX25L1606E/MX25L1608E"
##### APU2/3/4/5:
pi@raspberrypi:~$ sudo flashrom -p linux_spi:dev=/dev/spidev0.0,spispeed=16000 -r apu.rom
- RS232 connection - according to the image (TX & RX crossed)
Terminal command:
sudo screen -L /dev/ttyUSB0 115200,-cstopb